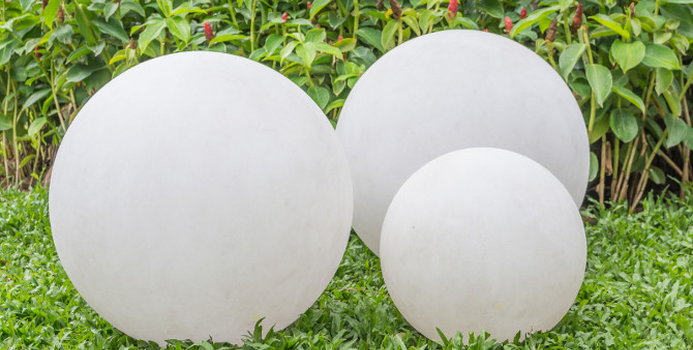
Atlas Stones are basically large balls of concrete that are used to test strength in competitions. Depending on the size of the ball, the weight of an Atlas Stone can vary. Generally speaking, they range from 216 pounds up to 350 pounds. These stones were made from, well, big stones a long time ago. But, these days they are made from concrete. Making an Atlas Stone at home is not very difficult, but it is a time consuming process. Here is how you do it.
There are a few different methods for making Atlas Stones, but this article will explain the plaster method. This method requires fewer components to make and the materials needed are easy to acquire. A note on safety, an Atlas Stone, when finished is a solid ball of concrete and it will roll if you aren't careful. Please make sure your work area is on the ground and that the ball has something around it to prevent it from rolling all over the place.
You Will Need:- Mikasa Rubber Ball - the big red kickball we all used to use during recess
- Plaster of Paris - this can be obtained at any hobby store
- Concrete Mix
- Something to mix the concrete in
- Shovel and some type of funnel
- Sand
- Grinder or sander to smooth out any imperfections
- Hammer and chisel
- Plenty of time and patience
- Inflate the ball to full size and rest it on a 6-inch bed of sand.
- Completely cover the ball in Plaster of Paris leaving a 6-inch hole at the top. Be sure to use a number of layers to support the concrete needed later.
- Once the plaster has dried, 24-36 hours, carefully deflate and remove the ball from the mold through the hole in the top.
- Check the plaster for any weak spots or cracks and patch them as needed.
- The plaster MUST be completely set before you can add the concrete.
- Mix the concrete according to instructions on the packaging in your mixing area--a wheelbarrow works great for this.
- Once the concrete is ready, pour it into you mold using either just the shovel or a funnel as well.
- Allow the concrete to settle a bit as you pour it, and be sure to tamp the concrete to even it out and remove any air bubbles. You should tamp it every 3 inches or so.
- Once you have filled the mold, add enough to the top to cover the opening and smooth this out as close as possible to complete a smooth circle.
- Now you need to let the ball harden up for at least 24 hours. Forty-eight hours is recommended to ensure a good solid formation.
- Chip away at the mold with a hammer and chisel until it is all removed. Try doing this in small segments to make clean up easier.
- Once the ball is removed, smooth out any serious lumps or edges with the grinder or sander.
Now that you have your own Atlas Stone you can tweak the smoothness or roughness of the outside of the stone with your sander to make it easier to carry and move around. Remember these are very heavy and can roll, so watch your feet and fingers and enjoy your new Atlas Stone.


